Firefly jars
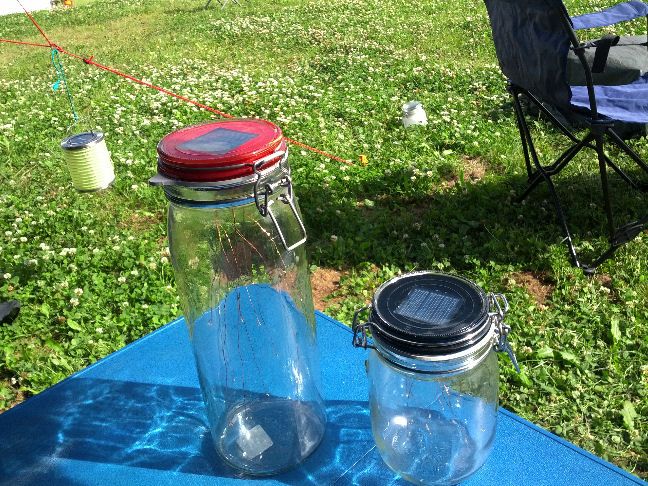
Lets build solar powered glass jars that come alive with simulated fireflys at night.

Around 2010 I started to experiment with solar power. Since outside isn’t the best of environments for electronics I came upon the idea to do a solar firefly glass. A glass made for canning food would be completely moisture resistant and stable.
Along the way I learned a lot about how to harvest energy from the environment and most importantly that hot-glue will melt inside a glass yar in summer. Although Epoxy works fine. The final version tries to portion its available power a bit depending on how much it receives each day by variying it runtime at night.

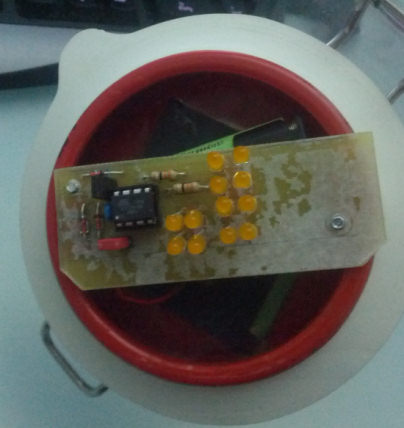
I made the boards for the v1 hardware by hand and the resulting jar works about 80% of the year. In Winter it starts to struggle quite a bit. The efficiency of the charging circuit (just a few schottkey diodes really) is terrible but it has the advantage of being simple, cheap and it works well most of the year.
A single attiny85 makes up the core of the build driving all 12 LEDs by multiplexing. You can use an attiny13 as well but I found that I liked having the bigger flash of the attiny85 for some other projects and the price difference wasn’t worth the added hassle.
The attiny has its reset pin reconfigured into an ADC so it can detect night via the solar cell voltage. That means that for development you will need a HV Programmer so you can reprogram it after setting the fuse for reconfiguring the reset pin.
The charging circuit was made up by a set of 3 schottkey diodes. One diode prevents backflow into the cell between cell (+) and battery (+). It is the only diode thats actually needed. I added a second Diode between the battery and the attiny and a diode bypassing the battery and connecting the cell directly to the attiny. I later realized after creating the v2 Hardware that those 2 diodes did nothing but waste power.

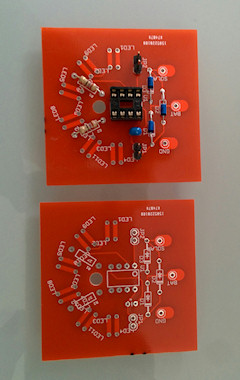
I redid the board for the v2 hardware and had it manufactured by dirtyPCBs. I was very happy with the results. Hardware BOM
1 x Solar cell 3v
2 x NiMH cells
1 x Atmega ATTiny85
1 x 8 pin Socket
2 x 28ohm resistor
1 x BAT 42 (any schottkey diode will do)
4 male header pins
2 x jumper
Download the v2 board EAGLE files here. If you want you can download the old eagle files for the v1 Hardware here as well. The firmware stayed pretty much the same since v1. You can download it here and compile it with AVR Project IDE.
